

Buildings
The Buildings section provides detailed configuration for each building in your portfolio.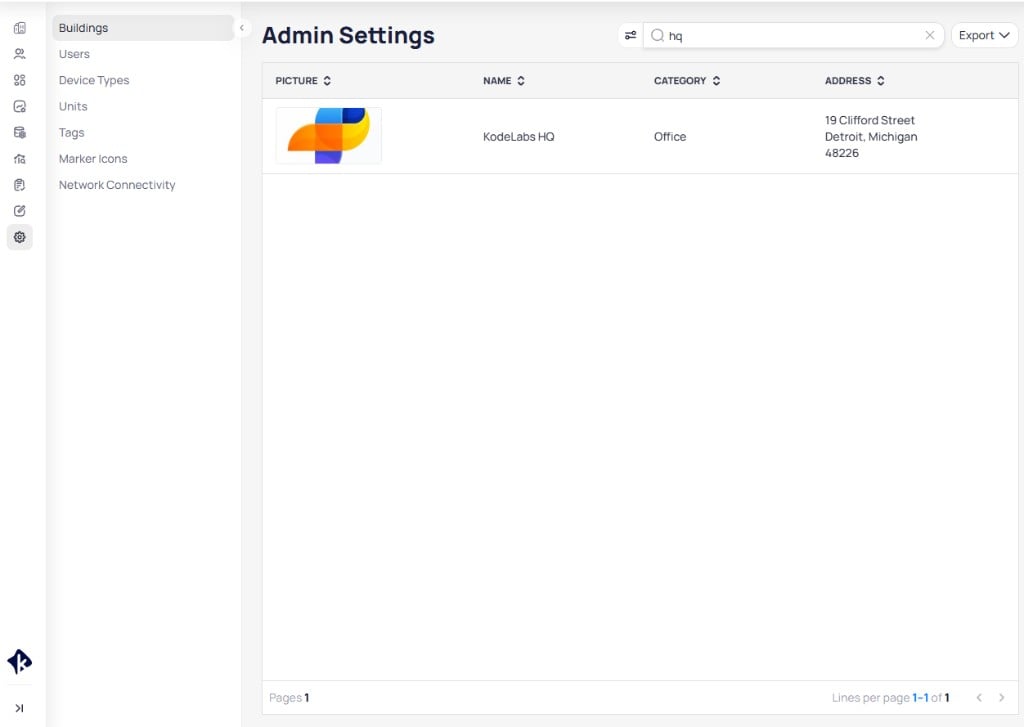
The Buildings page lists all buildings with their picture, name, category, and address
Navigate to buildings
Settings and select Buildings. Use the search bar to find your building or browse the list.View building details
- Details shows the building name, address, construction year, and category
- Areas lists the floors, zones, and rooms (see the areas documentation for management)
- Users shows users assigned to this building
- Files contains building-related documents and 3D BIM model files, with creation logs and file metadata
- Devices lists devices associated with the building
Add a BIM file
Upload a 3D BIM model file on the building Files tab before you add it to an area dashboard. Supported formats include.fbx and other 3D file types your organization allows.
Open building files
Settings and select Buildings. Click the building name, then open the Files tab.Add a BIM model
Add BIM Model. Upload or select your 3D model file.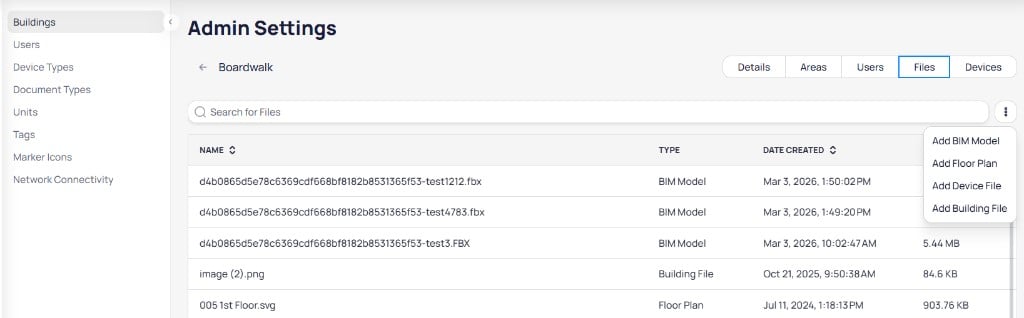
The Files tab three-dot menu includes Add BIM Model for uploading 3D building models
Confirm the upload
BIM Model. You can search and filter files using the search bar.Add Floor Plan, Add Device File, and Add Building File for other asset types. BIM files are used only with the BIM Model widget in Areas.
.fbx model file).BIM Model.Manage building users
From a building’sUsers tab, you can view all users assigned to that building and manage their access.
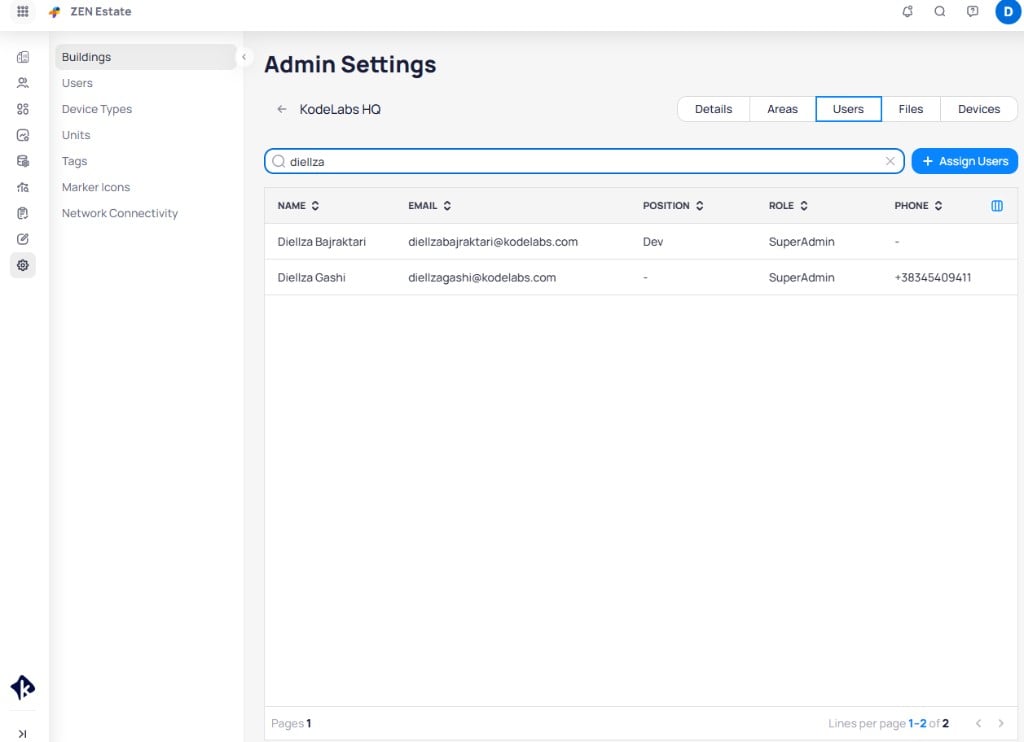
The Users tab shows assigned users with their name, email, position, role, and phone number
+ Assign Users to add users to the building. Search for users by name, select or deselect them, and click Save changes.
Device settings
The Devices tab under a building’s admin configuration controls how device detail pages behave for that building. Use it to set the default landing page, show or hide tabs and summary cards per canonical type, and control which points appear by default. Building-level settings apply to all devices in that building. Export and import configurations to reuse the same setup across your portfolio.Open device settings
Default navigation
Choose which page opens when a user opens a device.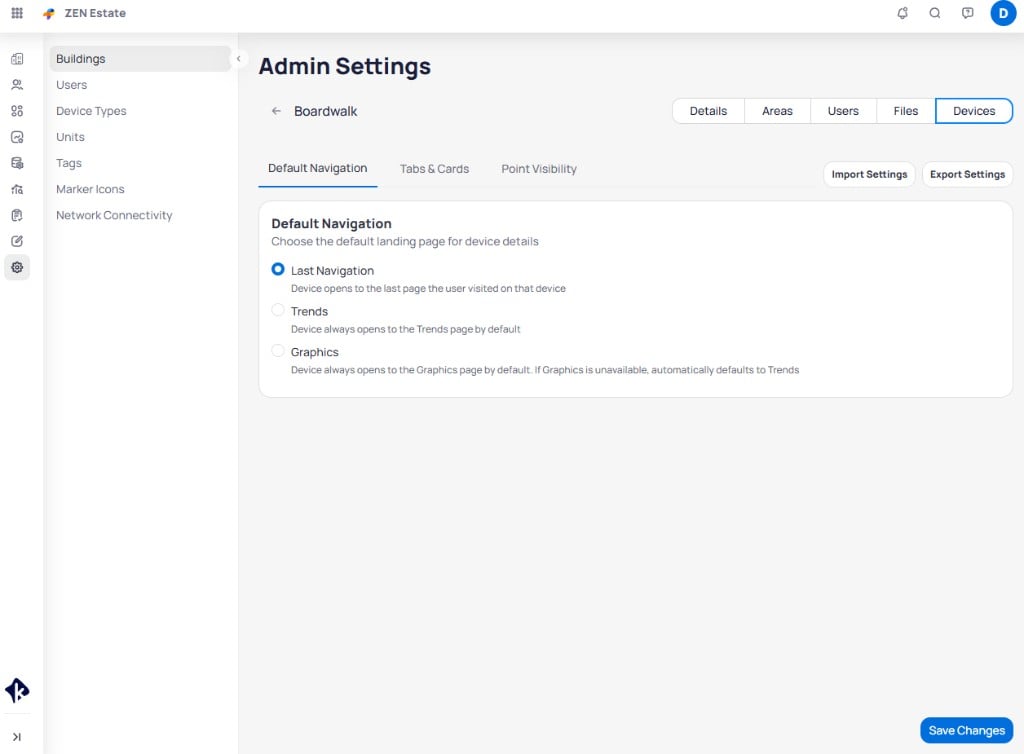
Default Navigation lets you choose the landing page for device details
Tabs and cards
Configure which tabs and summary cards appear on device detail pages, organized by canonical device type. End users see only the tabs and cards you enable for that device’s canonical type.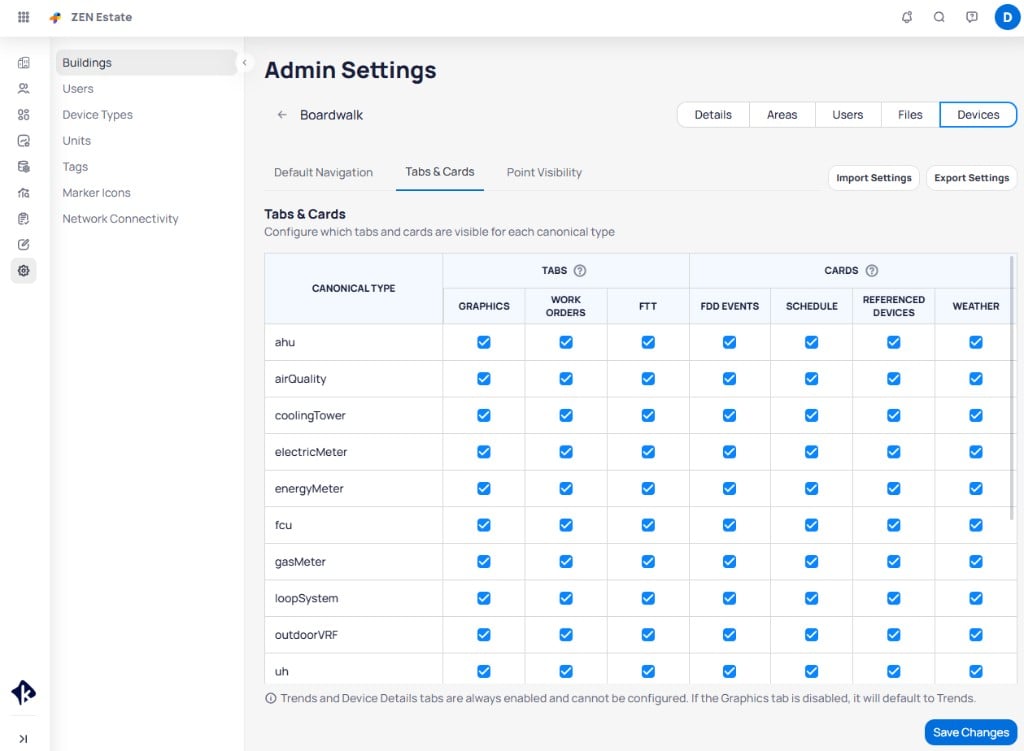
Tabs & Cards controls tab and card visibility per device type
ahu, airQuality, coolingTower). The columns are split into two groups:
Point visibility
Control which points are visible by default on device detail pages. Configuration is based on ontology field and applies per canonical device type.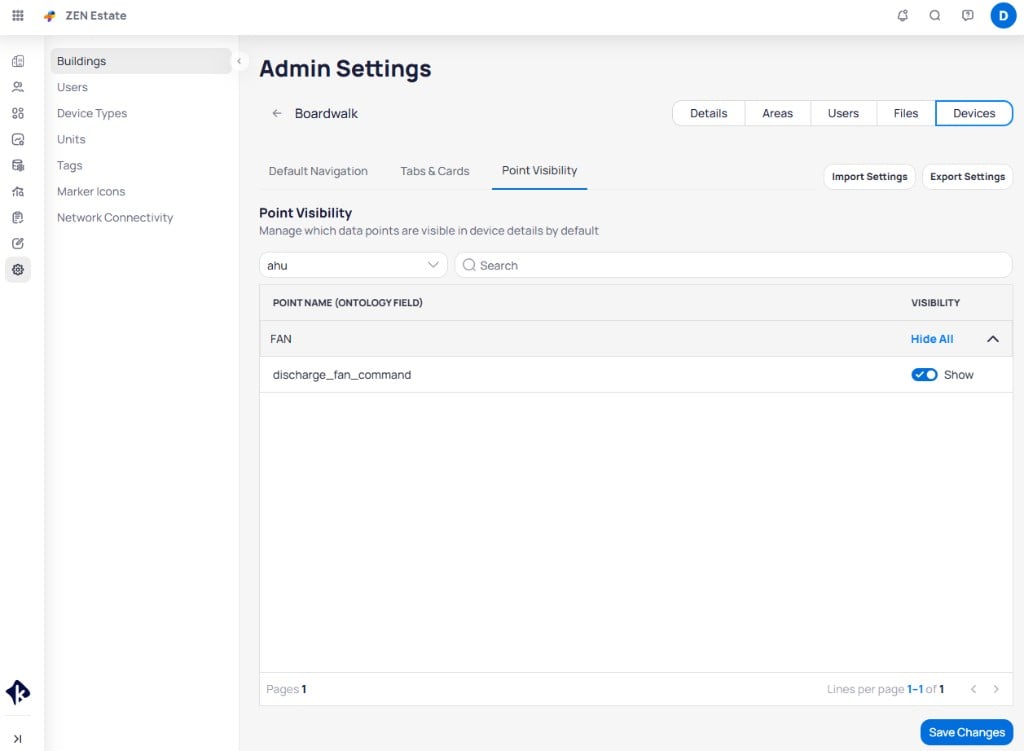
Point Visibility lets you show or hide specific points per device type
Select a canonical type
ahu).Filter and search
Set visibility
Save changes
Import and export device settings
Export and import applies to all device customization settings: Default Navigation, Tabs & Cards, and Point Visibility. Use it to copy a proven configuration from one building to another.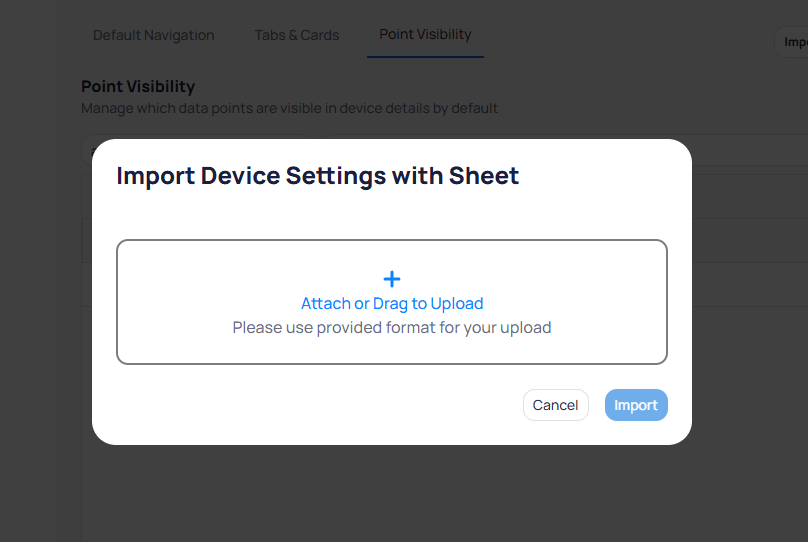
The import dialog accepts a spreadsheet file with device settings
Export from a source building
Import into a target building
Review and save
Users and permissions
While user management is primarily handled through Launchpad, Cloud BMS also allows you to add and manage users directly.Add a new user
Navigate to users
Settings from the left navigation bar. Select Users from the left side menu.Start adding a user
Add New User at the bottom right of the page.Complete user details
Save the user
Save to create the user account.Edit or remove a user
Select a user from theUsers page to view their details. The user details page shows their name, email, position, role, and phone number.
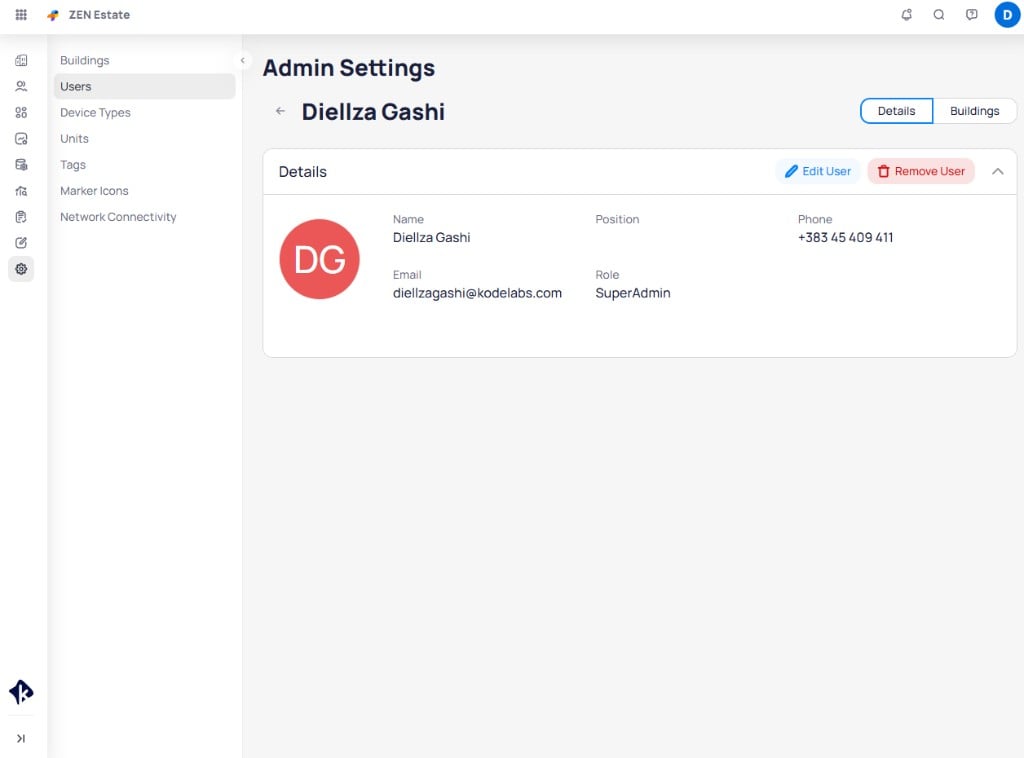
The user details page provides Edit User and Remove User actions
Edit User to update the user’s details (name, position, phone, role) or click Remove User to delete the account.
Assign users to buildings
From the user details page, go to theBuildings tab next to the Details tab. Click Assign Buildings and check or uncheck the buildings this user should access. Click Save changes.
Device types and units
Device types
Navigate to theDevice Types page in settings to view all device types configured across your buildings.
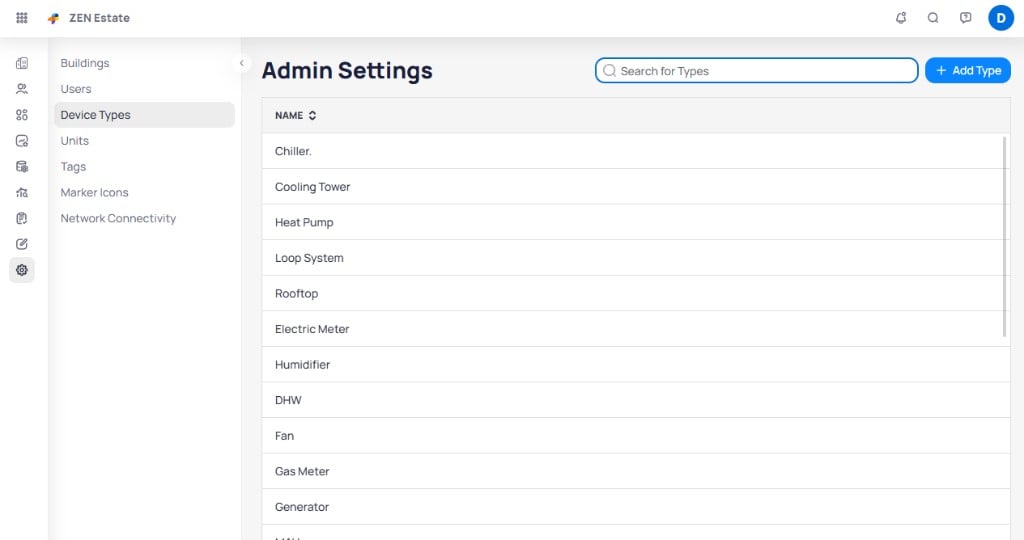
The Device Types page lists all configured equipment types with a search bar and Add Type button
+ Add Type, entering the name, and clicking Save.Units
The Units module manages measurement units for your devices. Navigate toUnits in the settings menu to view all configured unit categories.
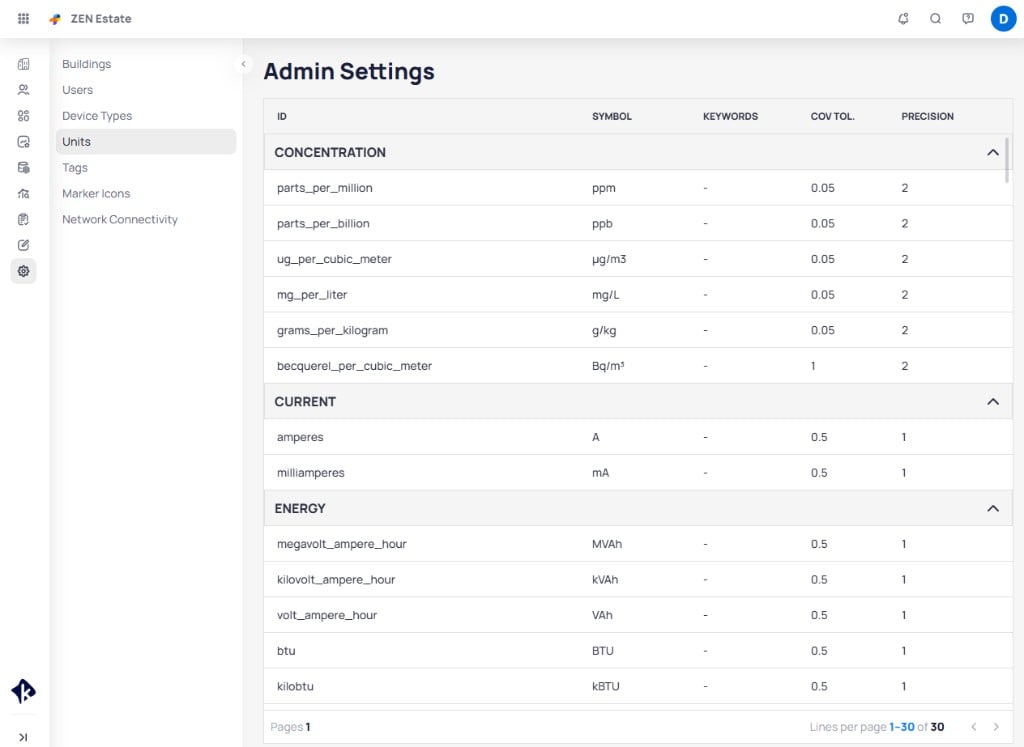
The Units page organizes measurements by category, each showing ID, symbol, keywords, COV tolerance, and precision
- ID (for example,
parts_per_million) - Symbol (for example,
ppm) - Keywords for search and filtering
- COV Tol. (change of value tolerance)
- Precision (decimal places)
Tags
Tags provide additional metadata for organizing and classifying devices and points. Navigate to theTags page in settings to manage your tag library.
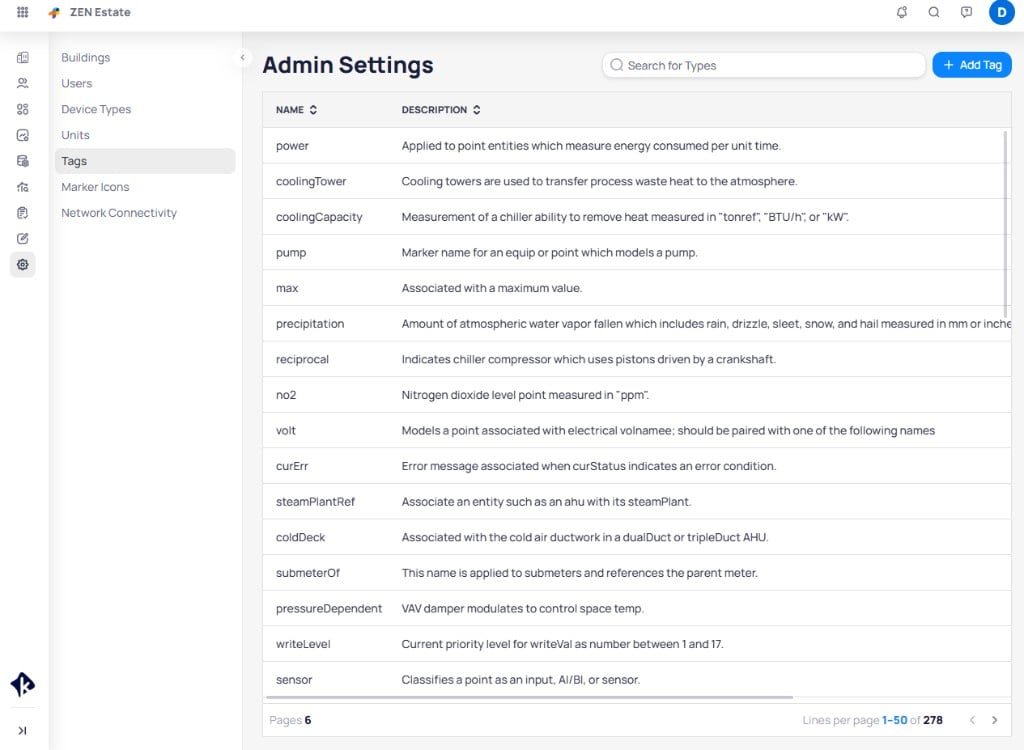
The Tags page lists all tags with their name and description, searchable and sortable
+ Add Tag. Fill in the tag name (required) and description (required), then click Save.Document types
Configure document type categories used in the Documents module at portfolio and building level. Type names are managed in portfolio Settings only, not from the Documents list.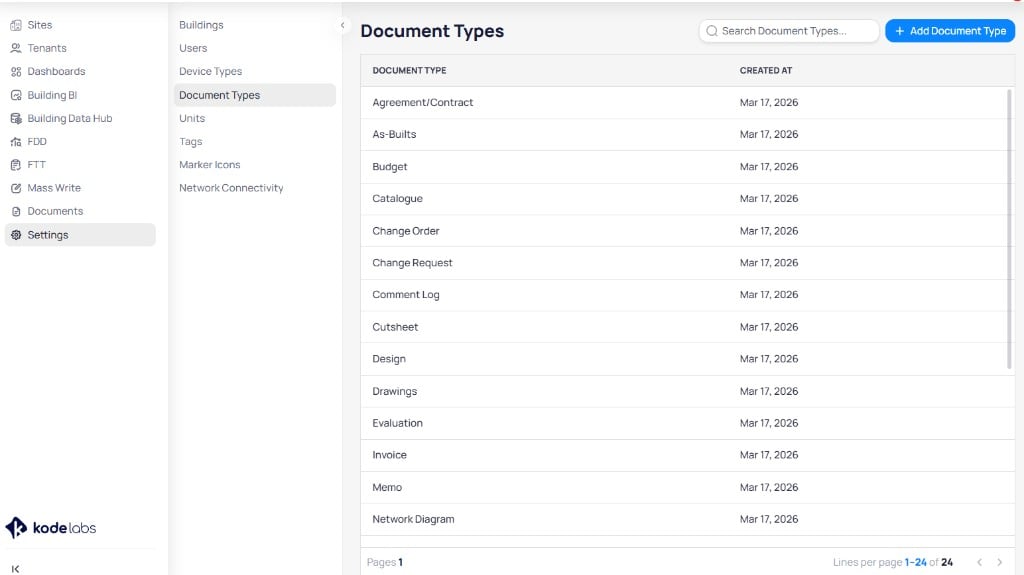
Document Types page in Settings with search and add document type
Open Document types
Search or add types